 how-to
How Do You Manage Waste During a Renovation?
Last Updated: October 28, 2026
Quick Summary
Plan renovation waste before demolition starts by listing every task, estimating debris types and volume, and choosing a disposal method such as a roll-off dumpster, dump trailer, or hauling trips. Sort materials on site, check hazardous items like asbestos or lead before disturbing them, and donate usable fixtures where possible.
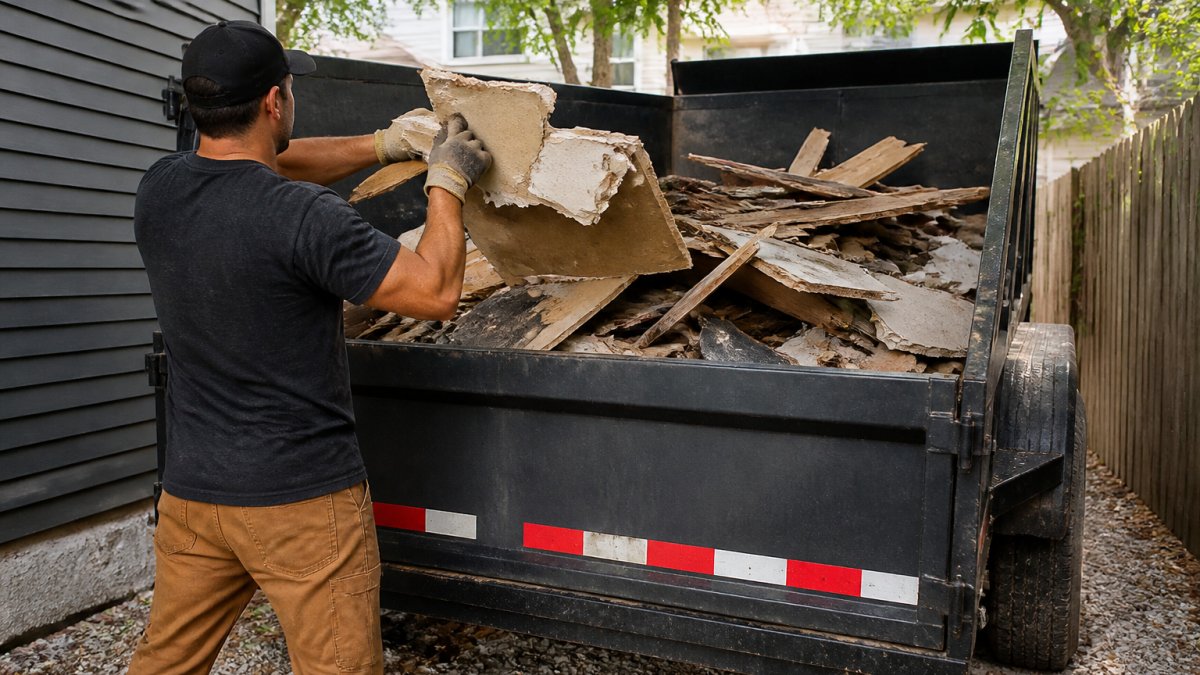
- Demolition creates the most debris, and drywall is often the largest share of it.
- Ask your hauler how weight is billed, since heavy materials can reach limits before a container looks full.
- Check local rules and get a street permit before placing a container on public property.
- Keep hazardous materials like paint and solvents out of the general pile and set them aside.
- Pause work and consult a professional if you suspect asbestos or lead in pre-1980 or pre-1978 homes.
Table of Contents
- Planning Waste Management Before Renovation Begins
- Estimating Debris Types and Volume
- How to Reduce Construction Waste Through Purchasing and Material Choices
- Sorting Waste at the Worksite
- Salvaging, Donating, and Reusing Materials
- How to Dispose of Construction Waste and Hazardous Renovation Waste
- Choosing a Dumpster Rental for Home Renovation Debris
- Booking Your Renovation Debris Hauler
- Frequently Asked Questions
Planning Waste Management Before Renovation Begins
Renovation waste is easier to control when you plan before the first wall comes down. A simple plan can help organize debris before work begins.
List every task. Demolition creates the most debris, but finish work, painting, and flooring still leave scraps and packaging.
Next, decide where the waste will go. You have a few main options:
- A roll-off dumpster delivered to your driveway
- A dump trailer you load yourself
- Hauling pickup trips to a local transfer station
Check local rules before booking. Some cities limit container placement or require a street permit; your solid waste or public works office can explain the requirements.
Estimating Debris Types and Volume
Estimating debris early can help you choose a container size. Rough numbers are fine, you want a size range, not an exact count.
Sort your expected debris into broad categories:
- Drywall and plaster: heavy and bulky, often the largest share of demolition waste
- Wood and trim: lumber, cabinets, subfloor, and framing
- Flooring: tile, carpet, vinyl, and underlayment
To estimate volume, measure the space you plan to clear (length × width × height in cubic feet) and add room for loose material, since demolished material takes up more space than it did whole.
Weight matters too. Drywall, concrete, and tile are much heavier than wood or packaging, so a container can reach its weight limit before it looks full.
How to Reduce Construction Waste Through Purchasing and Material Choices
Buying only what you need can reduce the amount of waste you create.
Measure twice before you order. Extra lumber, tile, and flooring often end up in the trash.
Choose materials with less packaging, buy in bulk when sensible, and pick products in recyclable boxes.
Pick modular or prefabricated parts when you can. Pre-cut trim, cabinet kits, and standard-size panels leave fewer offcuts than custom work.
Keep finishes simple.
Sorting Waste at the Worksite
Sorting at the worksite is one way to manage renovation waste. Check with your hauler about how separated loads are handled.
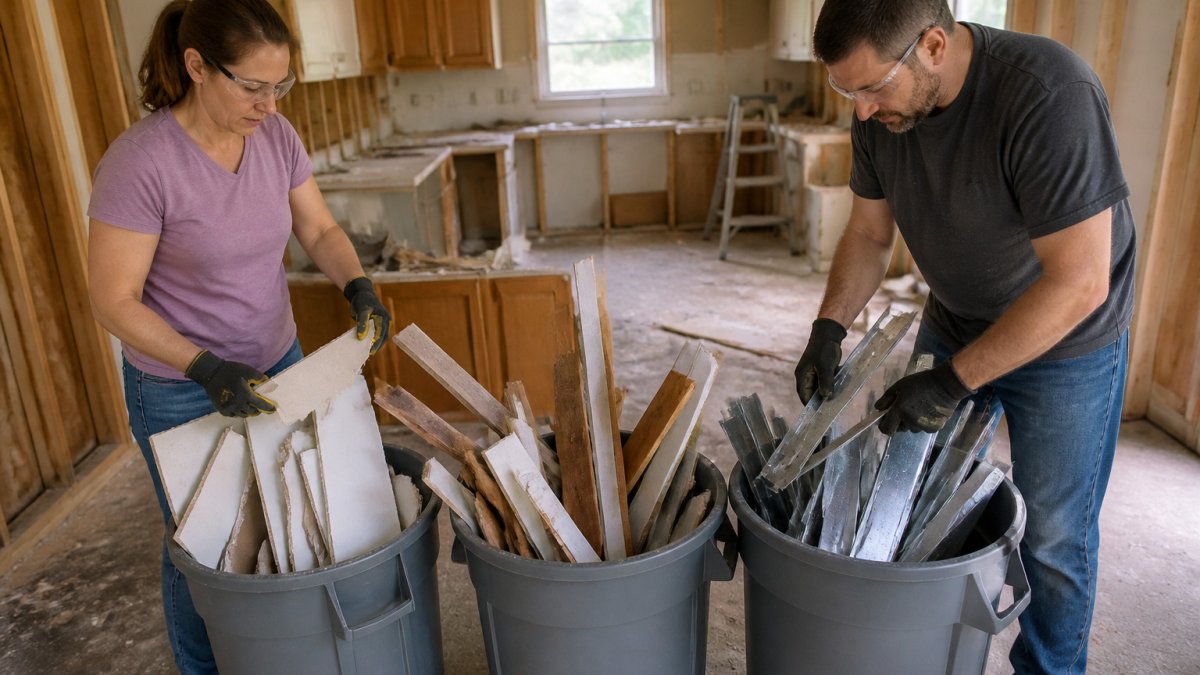
Set up labeled bins or piles before demolition starts. Keep these categories separate:
- Clean wood, which can be reused or recycled
- Drywall, which should stay dry and separate from other debris
- Metal scrap, which often has resale value
Keep hazardous materials out of the general pile. Paint, solvents, and old electronics need special handling.
Keep bins out of the weather too. Wet drywall crumbles and becomes harder to recycle, so cover piles or store them under a tarp.
Salvaging, Donating, and Reusing Materials
Some renovation materials may be suitable for salvage or reuse.
Remove items carefully: pull out cabinets, doors, fixtures, and hardware with minimal damage, since intact pieces are easier to resell or donate.
Consider these options for usable materials:
- Donate fixtures, sinks, toilets, and tiles to local building material reuse stores
- Give furniture and décor to charities or neighbors
- Sell metal and copper scrap to recyclers
Check with your donation center before dropping items off, some accept only certain items or require good condition.
How to Dispose of Construction Waste and Hazardous Renovation Waste
Most renovation debris, drywall, lumber, tile, metal, cardboard, can go into a standard container or be separated for recycling. Hazardous and regulated materials may require separate handling. Identify the materials and check applicable disposal requirements before proceeding.
Step 1: Identify what you actually have
Hazardous materials hide in plain sight. Before demolition, walk the space and flag anything matching these profiles:
- Pre-1980 homes: assume asbestos-containing materials are present until tested. Common locations include 9x9 floor tile and its black mastic, popcorn ceiling texture, pipe insulation, furnace duct wrap, and certain siding and roofing. The EPA's Asbestos Hazard Emergency Response Act (AHERA) and the National Emission Standards for Hazardous Air Pollutants (NESHAP) govern how asbestos is handled and removed; many states layer additional notification requirements on top (the EPA).
- Pre-1978 homes: assume lead-based paint is present. The EPA's Renovation, Repair and Painting (RRP) Rule requires certified firms and lead-safe work practices for paid renovations that disturb painted surfaces in pre-1978 housing, and disclosure of known lead paint is required at sale or lease under federal disclosure rules. Homeowners doing their own work are not covered by RRP, but the health risk and disposal obligations still apply.
- Treated and painted wood: pressure-treated lumber manufactured before 2004 may contain chromated copper arsenate (CCA); do not burn it, and check with your state on disposal. Painted wood may carry lead.
Step 2: Handle hazardous materials safely
For suspected asbestos or lead, check current requirements and consult an appropriate professional about testing, handling, and disposal.
Check local guidance for handling and disposal instructions for paint, solvents, pesticides, pool chemicals, and cleaning products.
Check current local disposal guidance and your hauler's accepted-materials list before loading treated wood, batteries, electronics, or appliances.
Step 3: Dispose through the right channel
Match each material to its channel:
- Asbestos-containing material: licensed abatement contractor to a permitted landfill. Keep the waste shipment record.
- Lead-paint debris: handled under RRP lead-safe practices; debris is bagged and disposed per state rules, and some states require it to go to a specific facility.
- HHW: municipal or county HHW facility or event.
Step 4: Know the rules that apply to you
Requirements vary by location. Before you start, check:
- Current government guidance on asbestos and lead handling and disposal.
- Your county or municipal solid waste department for HHW drop-off locations, hours, and accepted items.
- Your hauler's written accepted-materials list and any applicable charges.
- Any current local guidance on burning or disposing of treated wood and painted debris.
Contact your local solid waste office before demolition if you have questions about disposal requirements.
Choosing a Dumpster Rental for Home Renovation Debris
Choosing a container involves considering size and logistics. Consider the debris your project may produce when evaluating container size, weight allowance, placement, and pickup frequency.
Size the container before you call
A practical room-by-room method for estimating debris volume:
- Bathroom refresh (fixtures, tile, vanity, drywall): roughly 5-10 cubic yards of loose debris.
- Kitchen remodel (cabinets, countertops, flooring, some drywall): roughly 10-20 cubic yards.
- Single-room gut to the studs: roughly 20 cubic yards.
- Whole-floor or multi-room gut: 30-40 cubic yards, often split across two pulls.
Estimate the amount of debris your project may produce and check with your disposal provider about suitable container capacity.
Weight is the constraint that surprises people
Ask the hauler about weight limits and how charges are calculated before booking:
- What weight allowance applies, and how are any additional charges calculated?
- Are there any restrictions or additional charges for the materials I plan to load?
Compare the disposal channels
Container rental is one of several channels, and the right choice depends on volume, weight, timeline, and how much you want to handle yourself:
- Roll-off dumpster: best for medium-to-large demolition with heavy debris. Delivered to your driveway, picked up when full or at the end of the rental period. Base price typically covers delivery, a set rental window (often 7-14 days), the included tonnage, and pickup; overage, extra days, and prohibited items are billed separately.
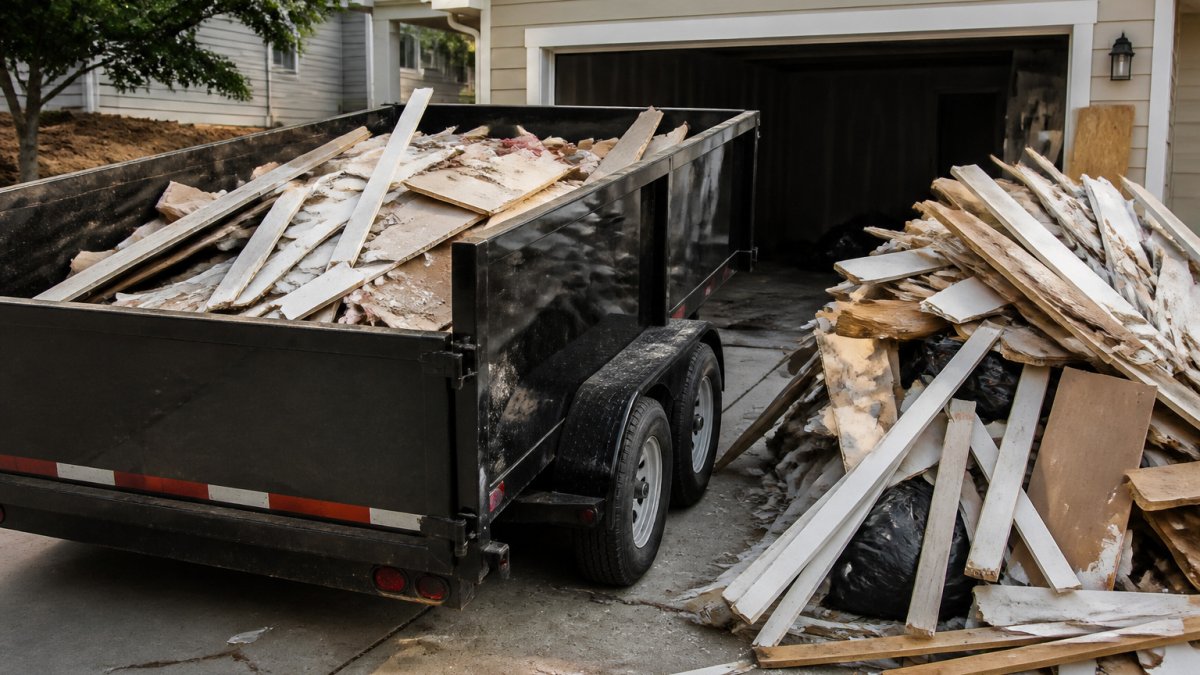
- Dump trailer: best for homeowners who want to load at their own pace and tow to a transfer station or have it pulled. Rental is often cheaper per day, but you supply the tow vehicle and pay the disposal fees at the scale.
- Junk removal service: best for small jobs, one-time cleanouts, and situations where you want the labor included. You pay for the volume or the truckload, and the company handles sorting and disposal.
- Municipal drop-off or transfer station: best for small volumes and clean separated loads. You haul it yourself and pay per load or per ton at the scale; check accepted materials and hours first.
You can consider different disposal options for different materials, after checking what each provider accepts.
Placement, permits, and access
Where the container sits matters as much as its size:
- Driveway placement is the default and usually avoids permits, but check that the surface can handle the loaded weight and that the truck has clearance to set it down.
- Street placement often requires a right-of-way permit from the city or county, and some jurisdictions restrict how long a container can stay on the street or require reflective markings and cones. Confirm with your local public works or permits office before booking.
- Homeowners association rules may restrict container placement, duration, or visibility; check before delivery.
- Clearance: keep the delivery path clear of low branches, power lines, and parked cars. The truck needs room to maneuver, and the container needs room for the doors to swing.
Pickup frequency and rental window
Ask about the rental period and any charges for additional days. Fill and Dump Trailers provides a three-day loading period; contact the business for details if you need more time.
Get the quote in writing
Before you book, ask for a quote covering:
- Delivery and pickup
- The loading period and any charges for additional days
- Included waste disposal and any charges for additional weight
- Accepted materials and any additional handling charges
Pricing depends on quantity, dates, and delivery. Visit Fill and Dump Trailers' website for current prices or a quote. Confirm placement and delivery details with the provider.
Container size depends on the project, so this rough guide shows the typical debris volume for common renovation jobs.
| Project | Typical debris volume | Note |
|---|---|---|
| Bathroom refresh | 5-10 cubic yards | Fixtures, tile, vanity, drywall |
| Kitchen remodel | 10-20 cubic yards | Cabinets, countertops, flooring |
| Single-room gut to studs | About 20 cubic yards | Full demolition of one room |
| Whole-floor or multi-room gut | 30-40 cubic yards | Often split across two pulls |
| Roof tear-off | Plan by square footage | Shingles are heavy, so weight matters |
Booking Your Renovation Debris Hauler
Once you know your debris types, volume, and container size, you are ready to book. Contact the provider to discuss delivery timing.
Gather the details before you call:
- Project address and access notes
- Estimated debris types and volume
- Start date and expected duration
- Preferred container size or hauling method
Ask for a quote covering delivery, the three-day loading period, included waste disposal, and any applicable additional charges.
Confirm placement and time window before delivery day, clear the area, and keep pets and children away while the container is set down or picked up.
Once the job is done, check the site for leftover debris.
Frequently Asked Questions
How do you manage waste during a home renovation?
Start by estimating how much debris the project will create, then set up sorting zones for wood, drywall, metal, concrete, and general trash before demolition begins. Plan how debris will be handled during the project. Keep receipts and disposal tickets so you can document where materials went. Planning these steps before the first wall comes down can help organize waste management.
Can you put hazardous renovation materials in a dumpster?
Disposal requirements for renovation materials vary. Check with your local solid waste authority before loading anything questionable.
Should you rent a dumpster or use a junk removal service for renovation waste?
A dumpster rental and a junk removal service are different options for renovation waste. Consider the amount of debris and how much handling you want to do yourself. Pricing depends on quantity, dates, and delivery, so request a quote from Fill and Dump Trailers for current rates on a 12-yard dump trailer, which includes the first ton of waste disposal. Compare the total volume you expect to generate before choosing.
How can you reduce waste during a renovation?
Plan material quantities before ordering. Consider product lifespan and recycled content when choosing materials. Ask suppliers whether they accept unused materials back, and protect finished surfaces so you do not have to replace damaged pieces. Salvaging cabinets, doors, and fixtures for reuse also keeps usable items out of the landfill.